INTERACTIVE BATTLE
Battle of Shizugatake
11 June 1583 · Shizugatake and Lake Yogo, Omi Province
The decisive clash between Hashiba Hideyoshi and Shibata Katsuie over Nobunaga’s succession. After a long standoff across Lake Yogo, Sakuma Morimasa’s surprise attack set the battle in motion, and Katsuie took his own life at his home castle of Kitanosho.
Background
After the Honnoji Incident, the Kiyosu conference failed to settle who would succeed Nobunaga or how his lands would be divided. Hideyoshi secured Omi while Katsuie came south from Echizen, and the two armies faced each other around Lake Yogo. Oda Nobutaka and Takigawa Kazumasu rose in support of Katsuie, forcing Hideyoshi to hold a second front in Mino.
Outcome
Katsuie fell back to Kitanosho and killed himself, and Oichi died with him. Nobutaka and Kazumasu also submitted, and Hideyoshi secured his standing as Nobunaga’s successor.
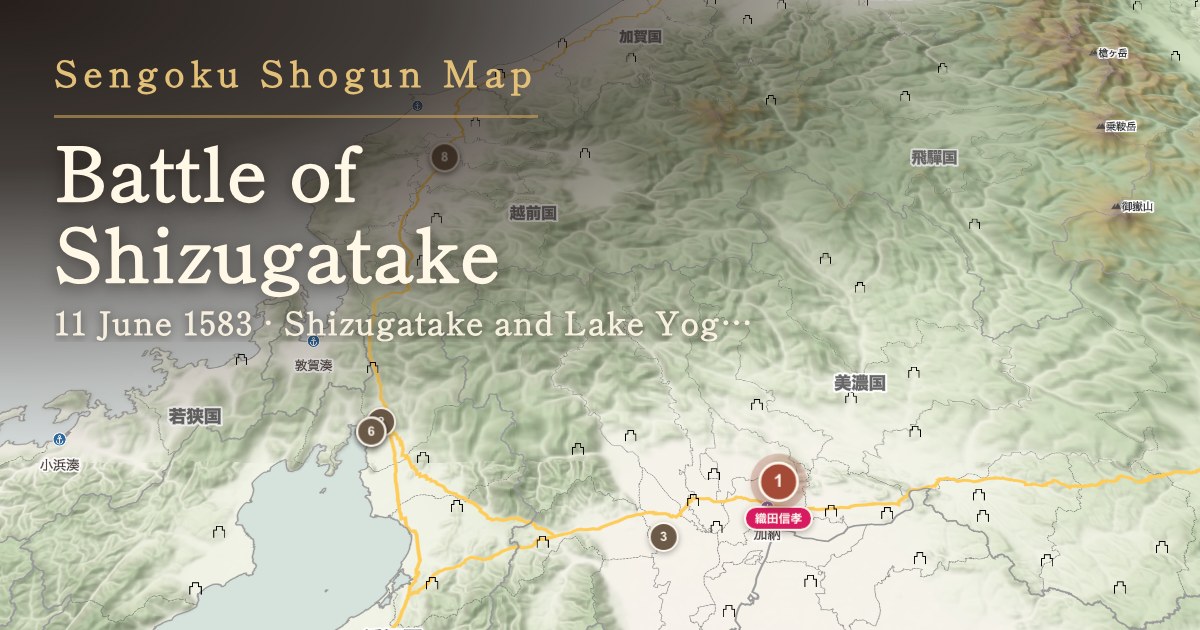
Course of the battle
1 6 June
Oda Nobutaka raises troops at Gifu
Nobutaka, siding with Katsuie, moved out from Gifu castle. Takigawa Kazumasu stirred in Ise as well, leaving Hideyoshi with two fronts: Yogo to the north and Mino to the east.
Raises troops at Gifu castle
Sources1234·Certainty: Medium
2 9 June
Sakuma Morimasa takes Oiwayama fort
3 10 June
Hideyoshi turns back from Ogaki to Kinomoto
Hideyoshi, then in Mino, turned about the moment word reached him and was back on the field the same day. The forced march is remembered as the "great return from Mino", and it left Morimasa no time to pull back.
Points of debate
The distance covered and the time taken vary between sources, and some hold that the account contains later exaggeration.
Turns back from Ogaki to Kinomoto
Sources1234·Certainty: Disputed
4 10 June
Niwa Nagahide lands at Kaizu from the lake
Nagahide crossed Lake Biwa by boat and landed at Kaizu, shoring up Hideyoshi’s flank. With the armies locked on land, the lake served as a road for men and supplies.
Crosses Lake Biwa and lands at Kaizu
Sources1236·Certainty: Medium
5 night of 10–11 June
Maeda Toshiie leaves the line
Toshiie’s force, drawn up at Shigeyama, withdrew without fighting. A corner of Katsuie’s line gave way and Morimasa’s line of retreat was put at risk.
Points of debate
Views differ on whether the withdrawal followed a prior understanding or was a judgement made on the day.
Sources1236·Certainty: Disputed
6 11 June
Katsuie’s army breaks at Shizugatake
Hideyoshi’s men pressed the attack around Shizugatake and Katsuie’s army collapsed. The work of young commanders such as Kato Kiyomasa would later be told as the feat of the Seven Spears.
Points of debate
The grouping of "seven spears" was tidied up by later writers, and the number and names of those who distinguished themselves are disputed.
Breaks Katsuie's army at Shizugatake
Distinguishes himself as one of the Seven Spears
His army collapses
Sources1236·Certainty: Disputed
7 13 June
Katsuie is surrounded at Kitanosho castle
Katsuie fell back into Echizen and entered Kitanosho castle, where Hideyoshi’s pursuing army ringed him in.
Falls back to Kitanosho castle and is surrounded
Sources1237·Certainty: Medium
8 14 June
Shibata Katsuie takes his own life
Katsuie set fire to the castle and died with Oichi. The power that had governed the north country as Nobunaga’s senior retainer ended here.
Takes his own life with Oichi
Sources1237·Certainty: High
Historical significance
The fight settled the contest over Nobunaga’s legacy and set Hideyoshi on the road to national power. The fame of Kato Kiyomasa and the other "Seven Spears of Shizugatake" dates from this battle.
Key figures
羽柴氏
6
Commander-in-chief of the Hideyoshi side
Turned back from Ogaki to Kinomoto and restored a line that was close to breaking.
Sources8·Certainty: High
Commander on the Hideyoshi side
Held the camp in northern Omi while his brother was away. Later known as Toyotomi Hidenaga.
Sources8·Certainty: Medium

Commander on the Hideyoshi side
Crossed Lake Biwa by boat, landed at Kaizu and shored up the Hideyoshi side.
Sources8·Certainty: Medium

Defender of Oiwayama fort
Fought off Sakuma Morimasa's surprise attack and was killed.
Sources8·Certainty: Medium

Young warrior on the Hideyoshi side
Counted among the Seven Spears for his part at Shizugatake.
Sources8·Certainty: Disputed

Oda lord siding with Hideyoshi
Opposed Nobutaka and acted with Hideyoshi.
Sources8·Certainty: Medium
柴田氏
2

Commander-in-chief of the Katsuie side
Held his headquarters at Genbao castle through the standoff, and took his own life at Kitanosho after the defeat.
Sources8·Certainty: High
Vanguard of the Katsuie side
Swung around Lake Yogo and took Oiwayama fort, but lost his chance to withdraw.
Sources8·Certainty: Medium
前田氏
1

Left the Katsuie line
Drew up at Shigeyama but left the line, bringing about the collapse of the Katsuie side.
Sources8·Certainty: Disputed
佐々氏
1

Commander on the Katsuie side
Sided with Katsuie from Etchu but could not join the decisive engagement.
Sources8·Certainty: Medium
織田氏
1
Rose in support of Katsuie
Raised troops at Gifu castle and forced Hideyoshi to hold two fronts.
Sources8·Certainty: Medium
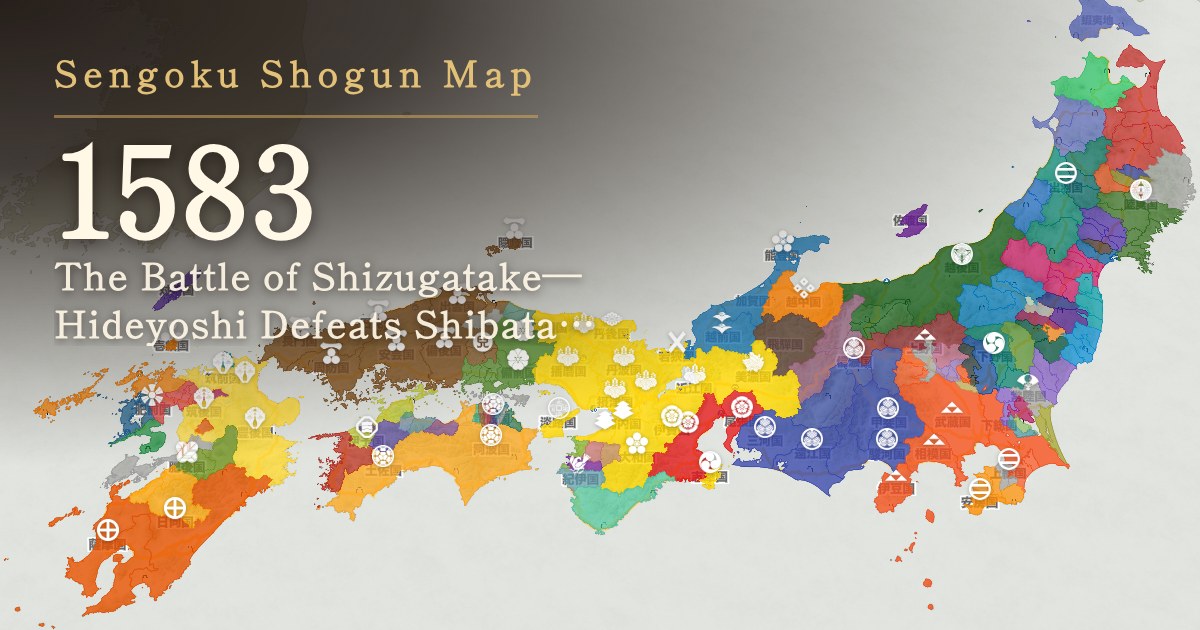
Other events of 1583
Notes on the data
Dates are given in the Western (Julian) calendar. The sources use the lunar calendar; 11 June here corresponds to the 21st day of the 4th month of Tensho 11. Points on the map are approximate positions of historic sites and traditional locations.
Sources consulted
- 滋賀県「北近江の戦国史」
- 滋賀県「賤ヶ岳の戦いから小牧・長久手の戦いへ」
- 長浜市「賤ヶ岳城砦群と古戦場」
- 城郭マスタ(shiro.geojson)
- ニッポン城めぐり「大岩山砦」
- Wikipedia「賤ヶ岳」
- Wikipedia「北ノ庄城」
- Wikipedia「賤ヶ岳の戦い」
The numbers in the text refer to the list above. Certainty indicates how far a statement is supported by the cited sources; it does not refer to the precision of the coordinates or the dating.
Advertisement